Legal timelines are organized case chronologies that enable lawyers to present cases chronologically, visually, and engagingly. Many use a legal timeline software for this purpose, which this article will delve further into. We will discuss the key elements of presenting evidence on a legal timeline, as well as guide you through how to create the timeline from start to finish.
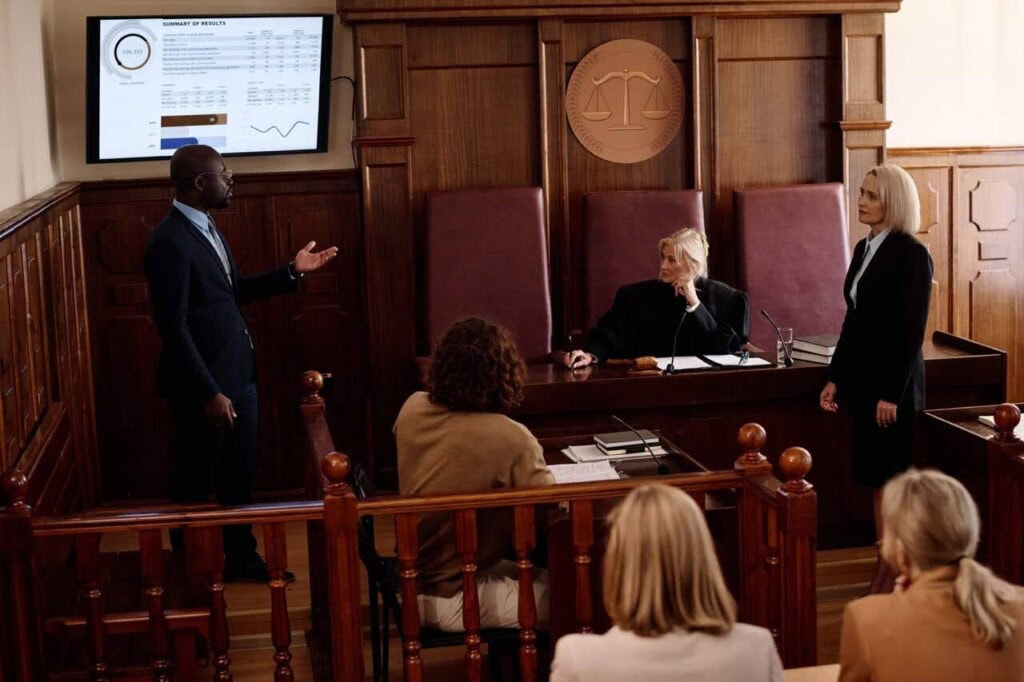
A case chronology is vital in any legal case. It presents the timeline of events, making it easier for the judge or jurors to understand the complexities of the case. For this exercise, we suggest you take advantage of digital tools that will make both the gathering and presentation of evidence much less time-consuming. Instead of relying on paperwork for a case chronology, it is more time-efficient and seamless to use a legal timeline software, in which you can create a visual timeline.
Read also: How to present evidence in court
Gather information and identify key events. This includes gathering evidence (visuals, communications, or documents) and storing it in one place. All dates, key players, and events must be clearly marked as well.
Organize the evidence, events, and players on a chronology. This should reflect the actual sequence of events in the case.
Connect the various documents to each other using filters, tags, or folders. For example, an event where a witness spotted the suspect running from the crime scene should be supported by a witness statement document.
Make use of legal timeline software to visually and digitally present the sequence of events. In the software, you can link evidence, events, and players in a structured way (by using tags and filters), which makes it easier for the judge or jurors to follow the storyline. The various features and functionalities of the software also make the case chronology more appealing, which you can leverage to build a compelling and engaging case.
Managing the timeline is an essential first step in creating a visual case chronology for presentation purposes before a case proceeding. Whether it is a civil or criminal case, it allows for a seamless presentation.
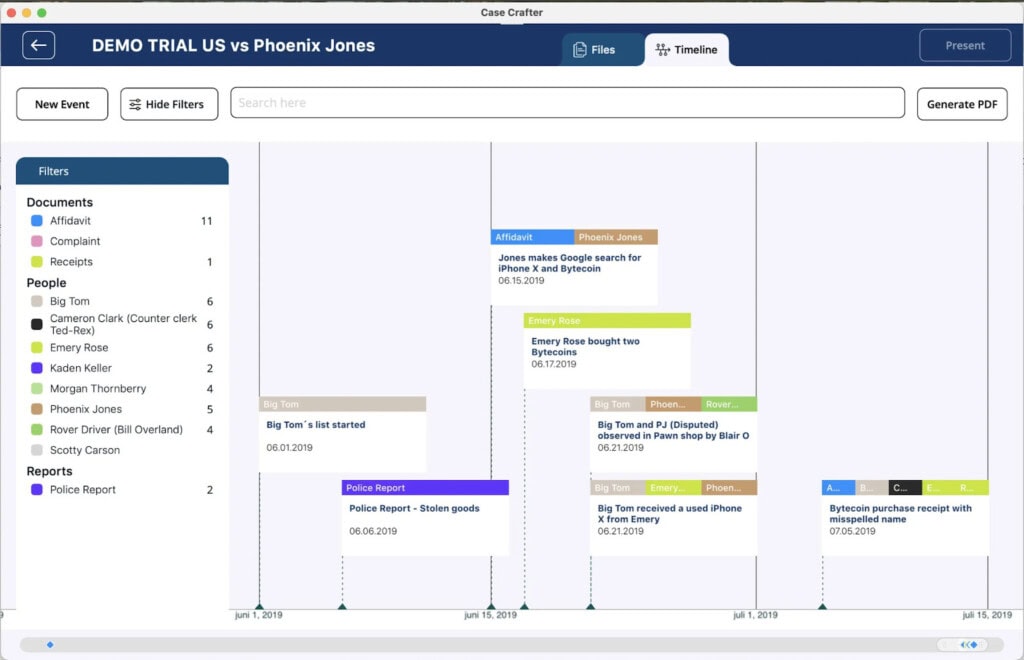
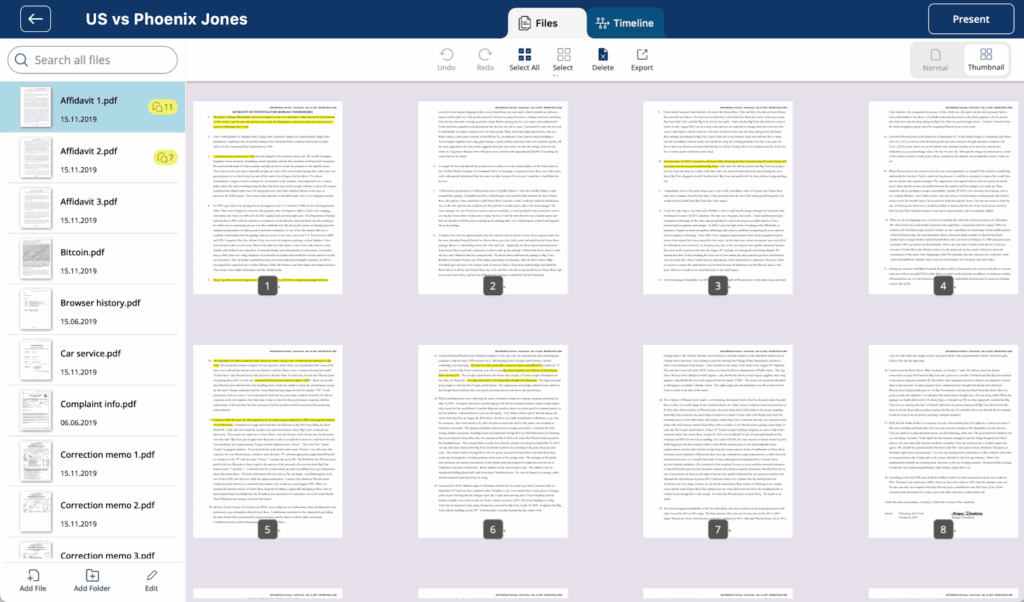
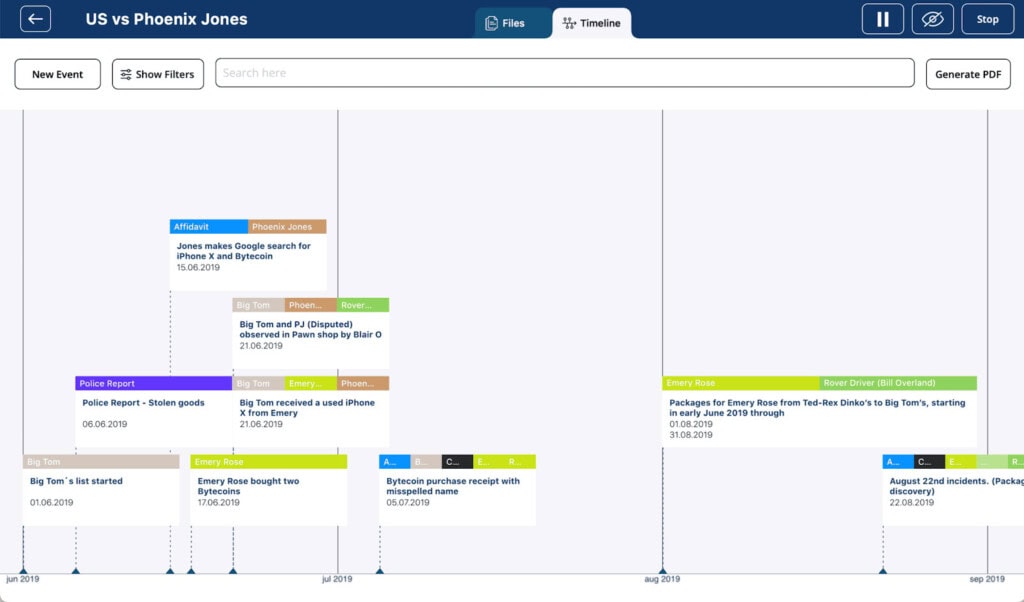
In the Case Crafter software, you can open the case and click on the Timeline tab to view and manage the timeline.
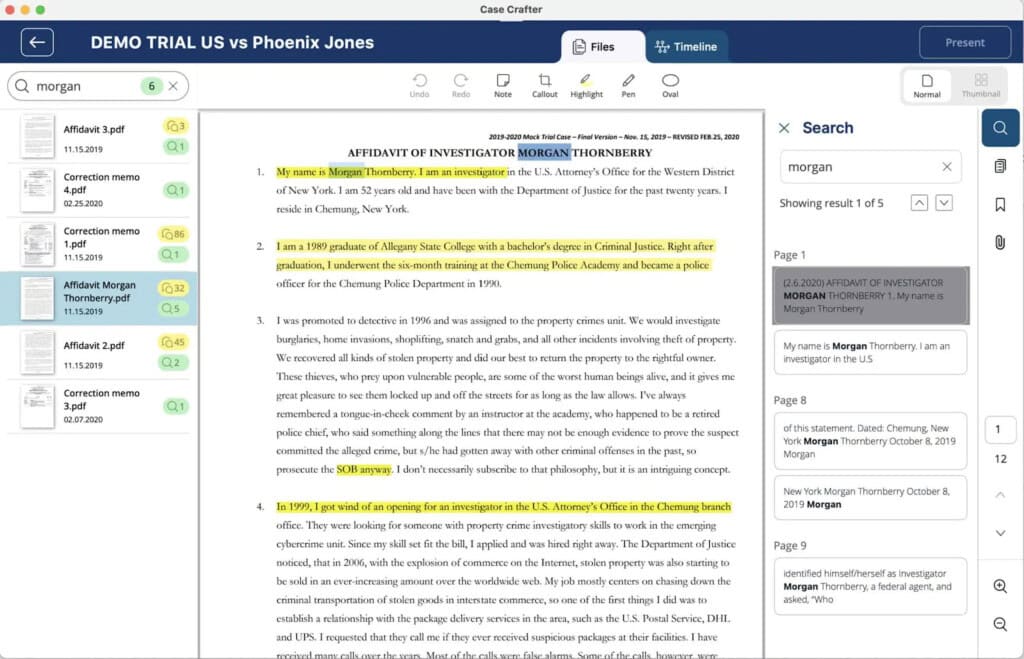
You can add facts to the timeline that are relevant to the case. For example, an important event like a witness observing the suspect walking from the crime scene. If the fact is collected from a document, you can highlight it using a callout tool.
In our software: You can also add tags to each fact if you want to group all witness statements together in one folder.
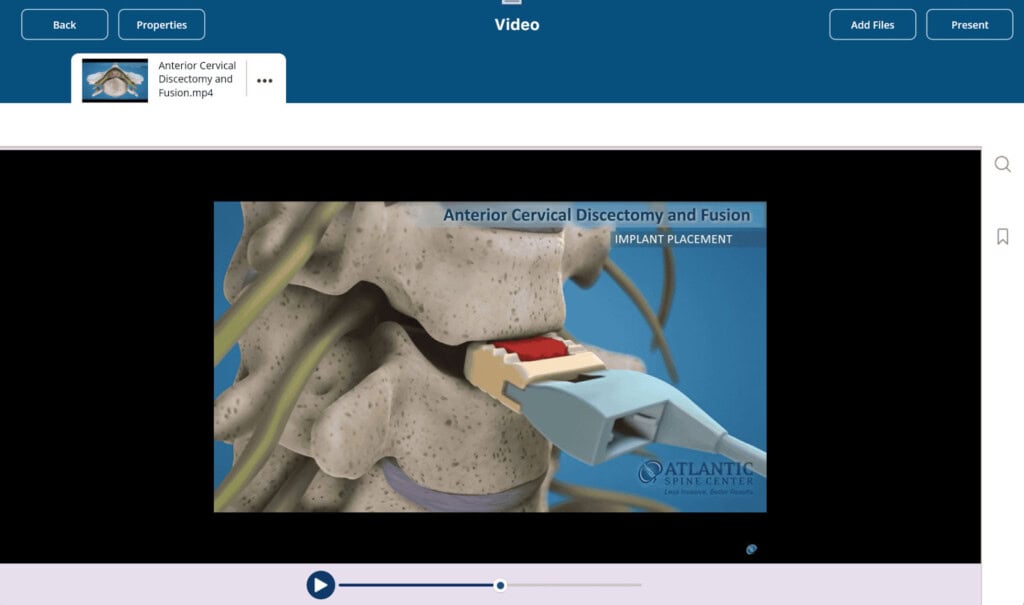
You can add files, audio, video, and photos to the software and present them on the timeline. This makes it easier to link evidence to one another, which feeds into the overall process of building a storyline for the case. As a visual aid, legal timeline software enables you to make a compelling case and helps you to persuade the judge or jurors of your position.

You can also filter facts and structure the oftentimes complex information in folders. By filtering facts, you can choose to only view certain types of information, such as witness statements or activities made by one particular player.
While a digital timeline is valuable for presenting information, it is sometimes helpful to hand out resources during the case proceeding, particularly to jurors. You can, for instance, generate PDF documents of the timeline and hand these out in court. That way, the jurors can follow the case chronology by noting down important facts or questions that are unclear to them.
In our software: By using filters, you can include the exact facts you want to show on the PDF timeline. That way you can exclude any facts that exist in the case folder from the timeline.
When you are ready to present the timeline, all you need to do is connect your device to an external monitor. You can choose to present the timeline on the external monitor, while keeping an eye on the other elements of the case presentation on your own device.
In our software: There is a pause button that enables you to have the display visible for the courtroom while executing actions in the app that you do not want the audience to see.
Benefits: Documents are critical to the case by supporting the activities that the suspect is alleged of doing. However, documents can be further maximized on a fact-centric timeline, for instance in the Case Crafter Legal Timeline Software.
A timeline of the case chronology is valuable to use throughout the case, from the initial pleadings to the trial, but it must be easy to read and understand for it to work optimally. This includes using the correct font and colors, as well as choosing the correct wording.
If you are using color coding or shapes to present the facts, these should be consistently used throughout the case timeline presentation. Ensure that you choose the appropriate color palette to each case, for example, choosing red when you want to convey anger or danger.
You must choose the information that is relevant to the case and not include any information that unnecessarily complicates the timeline. Too much information makes it especially difficult for the jurors to follow the timeline and storyline.
Read also: How to present evidence before a grand jury
By using legal timeline software to present cases in court, you cut time-consuming tasks to a minimum while also increasing your chances of making a compelling case to the judge or the jurors.
One, you eliminate the need for spreadsheets or diagram software. Instead, you can use the timeline software to manage your case and store all relevant facts in one place. All materials are stored locally on your device, meaning you won’t encounter any issues while presenting your case, even if the internet connection is unreliable.
Two, legal timeline software enables you to present an easy-to-understand case chronology where you can hone in on certain facts while presenting. You can choose to keep your own dashboard hidden while in present mode. These two functionalities make a compelling case for legal timeline software being invaluable for presenting evidence in court.