Add tags to an event
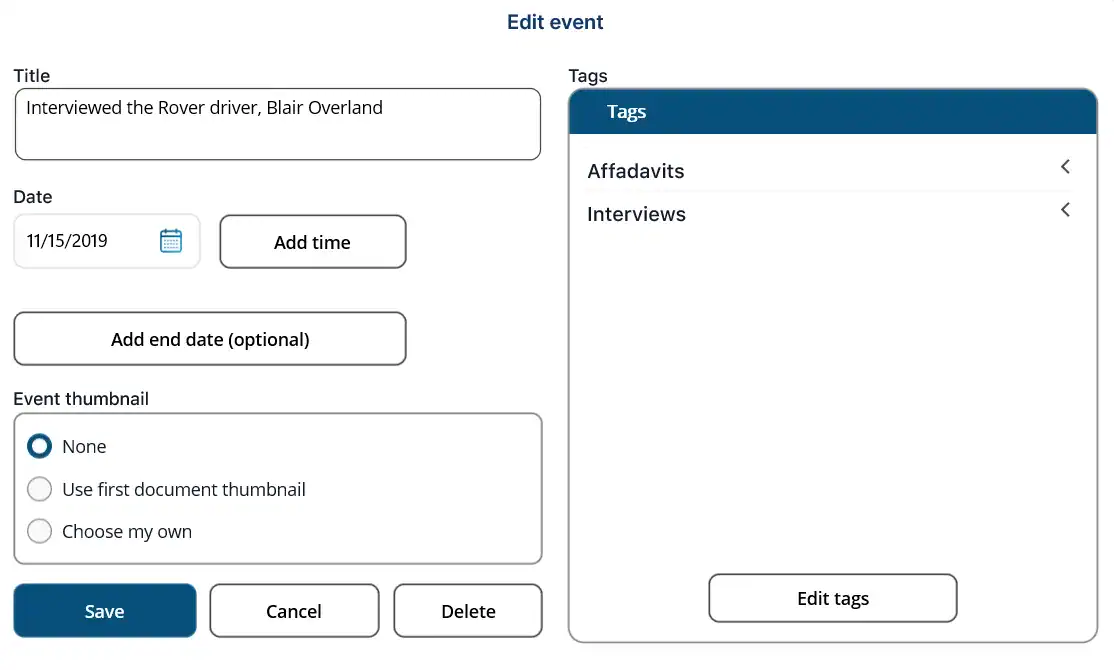
You can select a tag group to open it, then choose a tag from the group. You can select multiple tags. NOTE: On a Mac, use the Option key to select multiple tags.

Selected tags are highlighted in purple. The number of tags selected from the group is displayed next to the group name.
After the event is saved (by clicking Save), the tag will be added to the event and shown on the event on the timeline.
Start using tags
If no tags are available, click Start using tags.
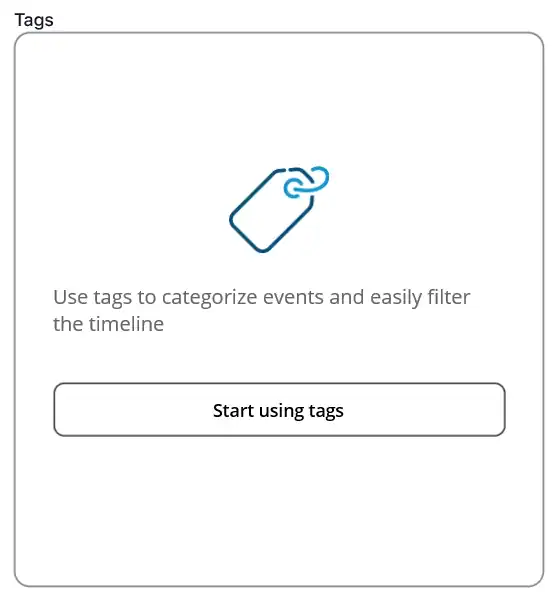
The Tag Editor opens.

You must create a group first. Click New under the Groups section. The New Tag Group window opens.
Enter a title for the group and click Save.

You can now add tags to the group. Click New under the Tags section.

The New tag window opens.
Enter a title for the tag and choose a color for the tag. Then click Save.

Once you’ve finished adding groups and tags, click Close on the Tag Editor window.

You can now add a tag to the event. See Add tags to an event.
Edit tags
When tags are available but you want to add new ones, click Edit tags.
The Tag Editor opens.

You can add a tag to an existing group. Select the group and then click New in the Tags section. The New tag window opens.
Enter a title and select a color, then click Save.

You can also create a new group and add tags to it. Click New in the Groups section. The New Tag Group window opens.
Enter a title for the group, then click Save.
Click New in the Tags section to add a tag to the group.
Once you’ve finished adding groups and tags, click Close on the Tag Editor window.
You can now add a tag to the event. See Add tags to an event.
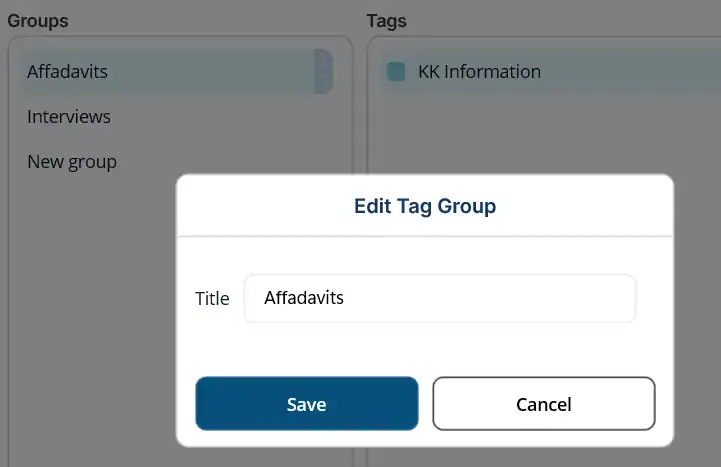
Edit group or tag properties
To edit a group, select the group and click Edit in the Groups section. Edit the Title and click Save.
To edit a tag, select a group and then a tag. Click Edit in the Tags section.
Edit the Title and/or change the tag color and click Save.

Move tag
You can move a tag from one group to another.
Select the group, then the tag. Click Move in the Tags section.
Select the group you want to move the tag to.
